We’re one of the last independent developers and providers of state-of-the art Turn-by-Turn GPS navigation software and Maps for Smartphones and Automotive.
Powered by you

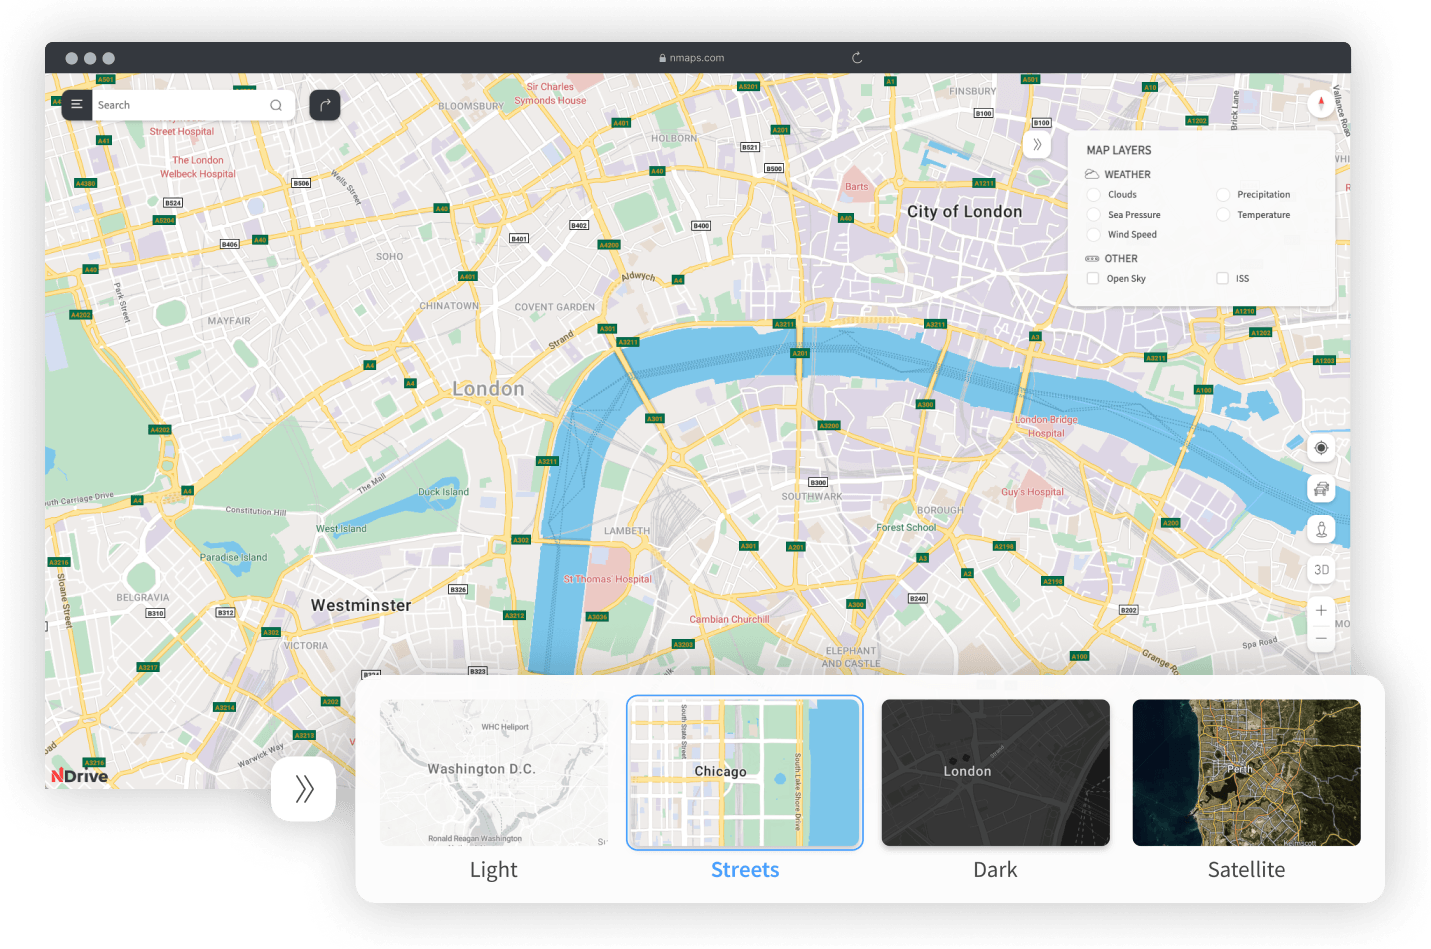
Multi-Layered customizable Maps
Tailor your geo information to suit your company’s daily operations. Weather info, road conditions, fleet localization, brick-and-mortar businesses details, you decide what to see.
NDrive has developed a customer base of several million active users in more than 50 countries and is very well positioned to capitalize on high-growth markets.
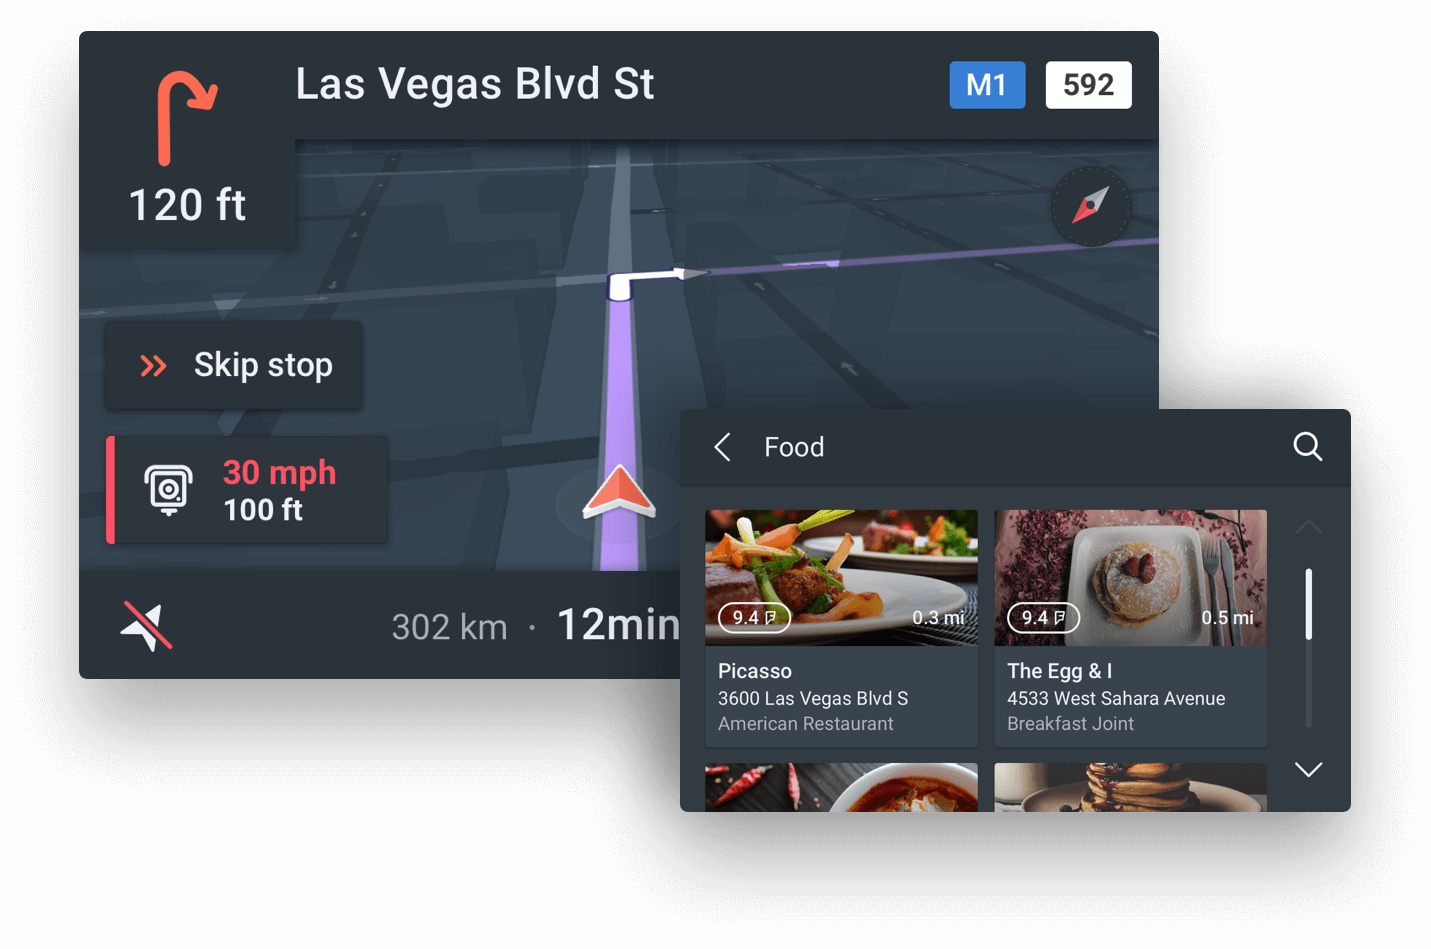
Navigation features & travel content in one beautiful app
Free, offline, content-rich maps that allow you to explore new places and drive with advanced turn-by-turn instructions. Did we mention that it’s all free? Download all the maps you need, without limits.

NDrive takes advantage of its navigation expertise by developing an array of location based solutions for clients in very diverse business areas.
Two solutions in one app
An embedded platform that connects the car to NDrive’s mobile services and your smartphone.
A brought-in app that allows the in-vehicle display to interact with the NDrive mobile app via Bluetooth®, MirrorLink, USB, Wi-Fi, Bosch mySpin and Ford Sync.
More products

11 years' experience
NDrive 11 is an award-winning professionally enhanced routing software with advanced algorithms, that allows navigation from A to B without any effort.
Learn more
OSM+ Maps
Our maps are updated with real-time probe data and edited by the global community of 4 million mappers in OpenStreetMap, adding new roads, buildings and more around the world.
Learn more
Our partners
NDrive is a business accelerator for Telcos, OEM and Manufacturers.
Flexibility, speed and confidence are the pillars.